Ever need someone to help manage your WordPress website? Maybe a colleague to handle blog posts or a virtual assistant to update content? Sharing your login credentials might seem like the easiest solution, but can pose a security risk. Here’s a better way to add an admin to your WordPress site: grant them administrator access via your WordPress dashboard or with a secure plugin.
Why Sharing Your WordPress Login is a No-No
Imagine giving someone your house key. They can enter freely, but what if they accidentally (or maliciously) mess something up? Sharing your website’s login grants complete control over your website. An administrator can edit or delete anything, including essential settings.
The Safer Way: Granting Admin Access
Here are three secure methods to add an administrator to your WordPress site:
Method 1: Using the WordPress Dashboard
- Log In: Access your WordPress dashboard at
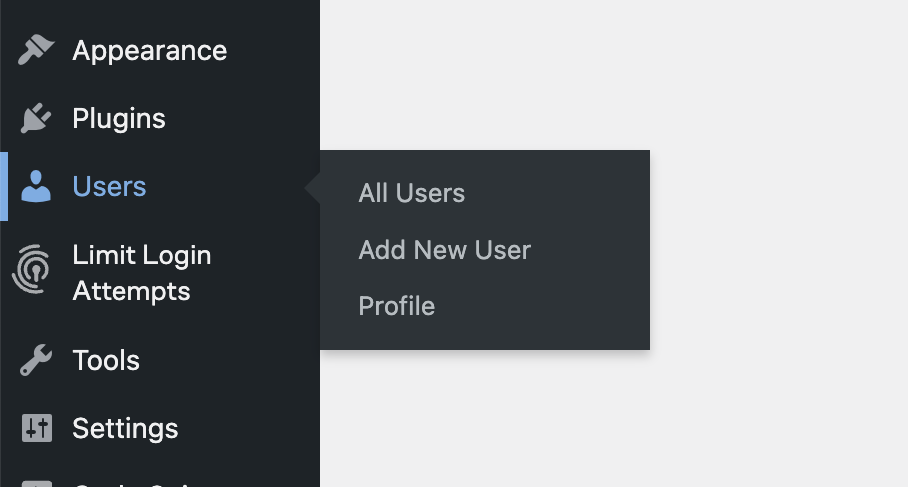
yourwebsite.com/wp-admin(or an alternate link your website developer set up). You’ll need your existing admin username and password. - Navigate to Users: On the left sidebar menu, hover over “Users” and click “Add New.”
- Create a New User: Fill out the form with the new user’s details. You’ll need their email address. Choose a strong username and password (encourage them to set a unique password as well).
- Assign the Administrator Role: Under “New User Role,” select “Administrator” from the dropdown menu. You can uncheck “Send User Notification” to avoid accidentally revealing the password in an email.
- Click “Add New User.” The new user will now have their own login credentials for the admin dashboard.
Method 2: Utilising a Controlled Access Plugin
While granting full admin access might be necessary for some collaborators, others may only need specific permissions or access for a limited time.
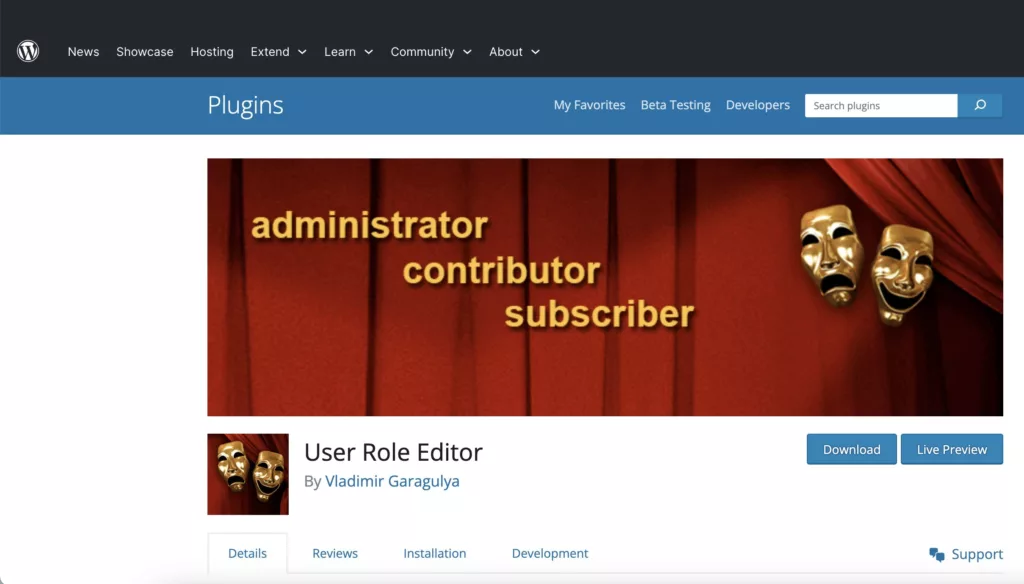
- Install a User Role Management Plugin: A reputable option is “User Role Editor” (be sure to download it from the official WordPress plugin directory).
- Activate the Plugin: Once installed, navigate to “Plugins” on the sidebar menu and click “Activate” next to “User Role Editor.”
- Edit User Roles: Go to “Users” > “All Users” and select the new user you want to add.
- Assign Specific Permissions: With the User Role Editor plugin, you can grant granular access. For instance, you might give them “Editor” privileges to manage posts and pages, but restrict access to plugins or themes.
Method 3: Granting Temporary Access
Need to give someone access for a limited time, like a developer fixing a bug? Consider a temporary login plugin.
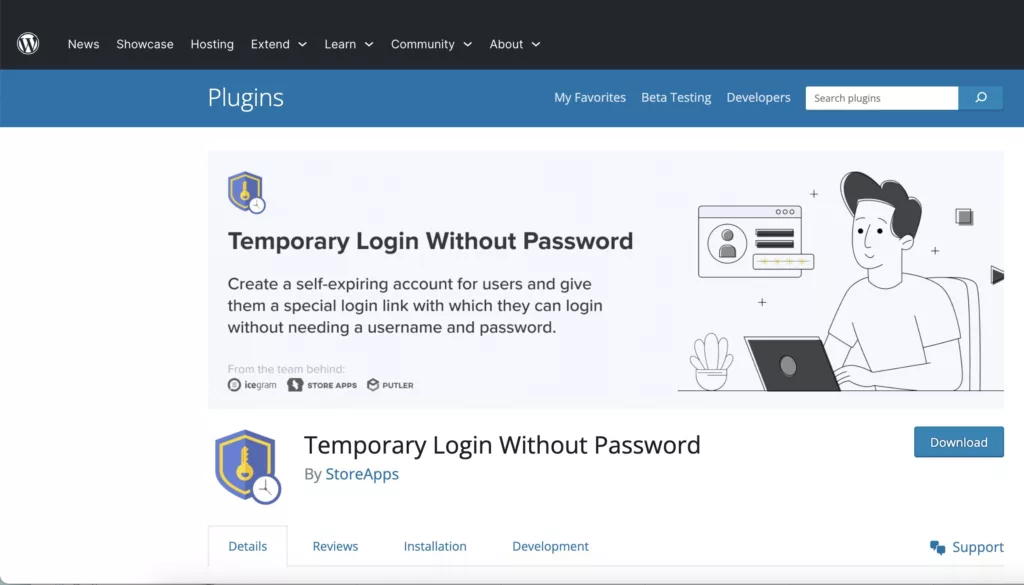
- Install the Temporary Login Without Password Plugin: While not ideal for long-term collaborators, this plugin (available from the WordPress repository) can be a secure option for short-term needs.
- Activate the Plugin: Follow the standard installation and activation process for WordPress plugins.
- Generate a Temporary Login Link: Within the plugin settings, you can create a unique link with an expiration date. Share this link with the collaborator instead of your login credentials.
Pointers
Temporary login plugins are convenient, but use them with caution. Ensure the plugin is reputable and kept up-to-date.
Always choose a plugin from the official WordPress repository and make sure it has good reviews and is actively maintained.
By following these steps, you can securely grant administrator access or set specific permissions for collaborators on your WordPress site. No more compromising security with shared logins.